Summer is backpacking season on paper, but in practice when the snow melts in the mountains and the bugs begin to die off in late July marks the start of true backpacking season for me.
So with that in mind, let’s get ready for the start of long hiking to sleep in the dirt season!
This post contains affiliate links. That means if you choose to make a purchase, I make a small kickback at no additional cost to you.
Midwest backpacking ideas
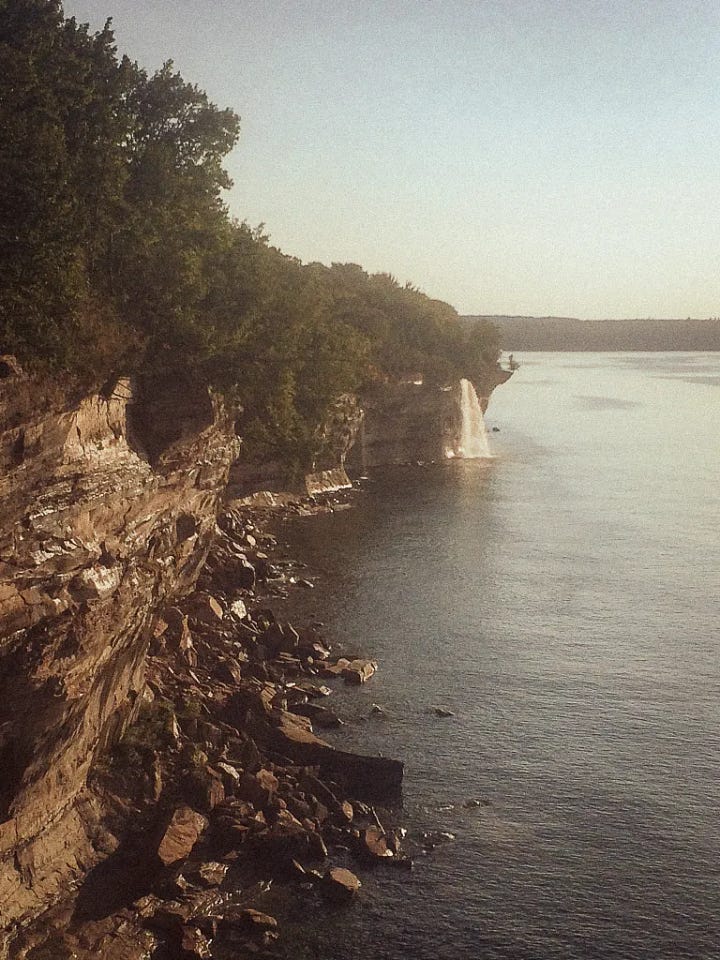
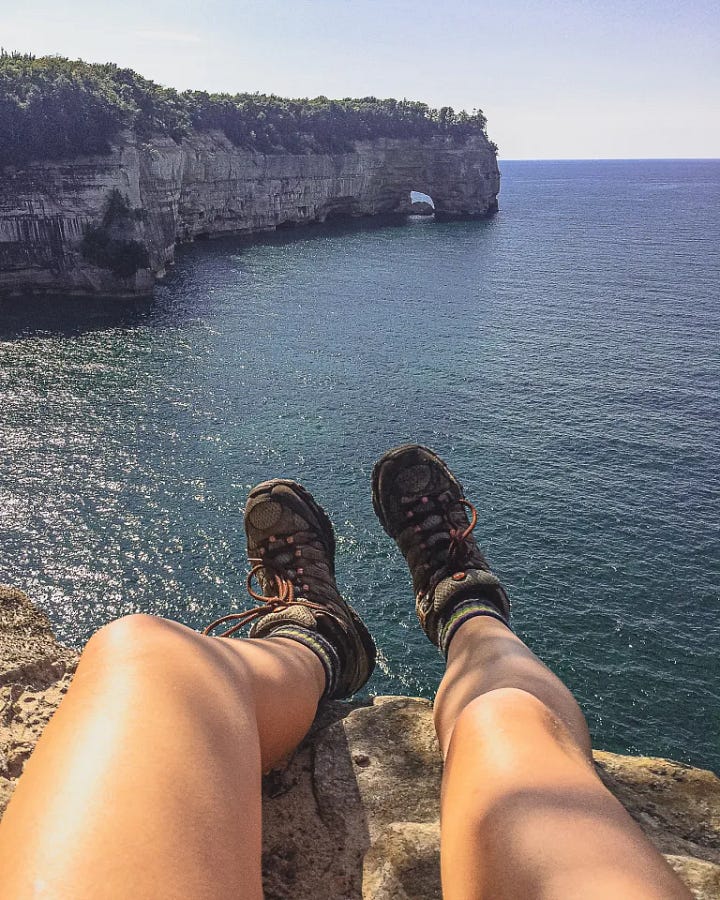
Pictured Rocks Lakeshore Trail, MI: wild swimming and sea cliffs
Part of the North Country National Scenic Trail, the Pictured Rocks Lakeshore Trail runs a beautiful 42-miles along Lake Superior between Grand Marais, MI and Munising. Backcountry permits are required, and keep in mind that sections of the trail are sandy terrain and more difficult as a result.
The Ice Age Trail, WI: Glacial moraines and wild rivers
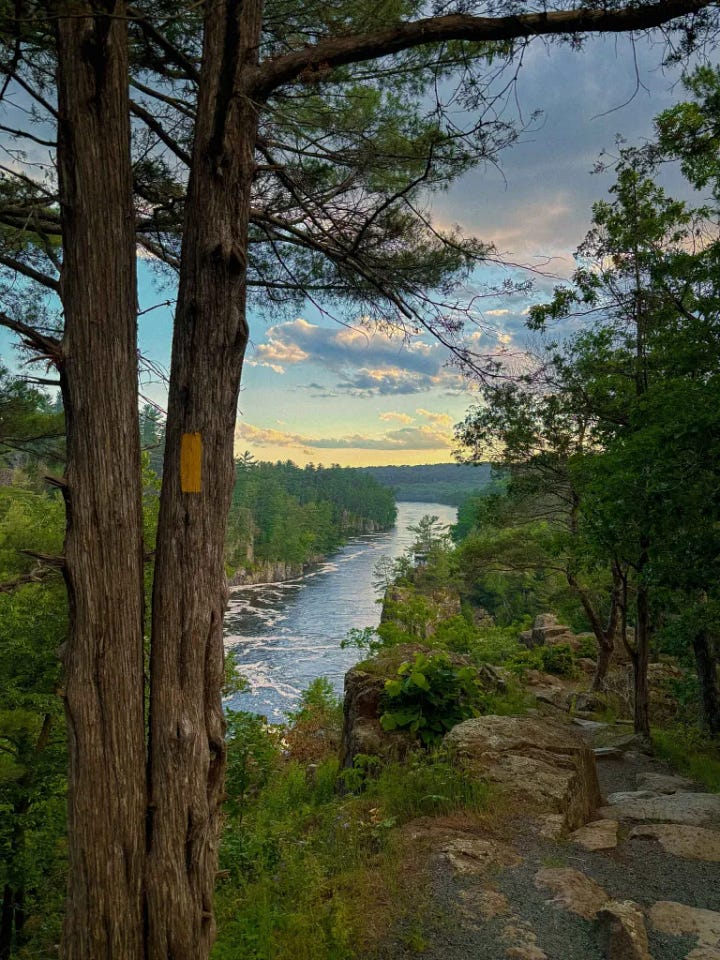
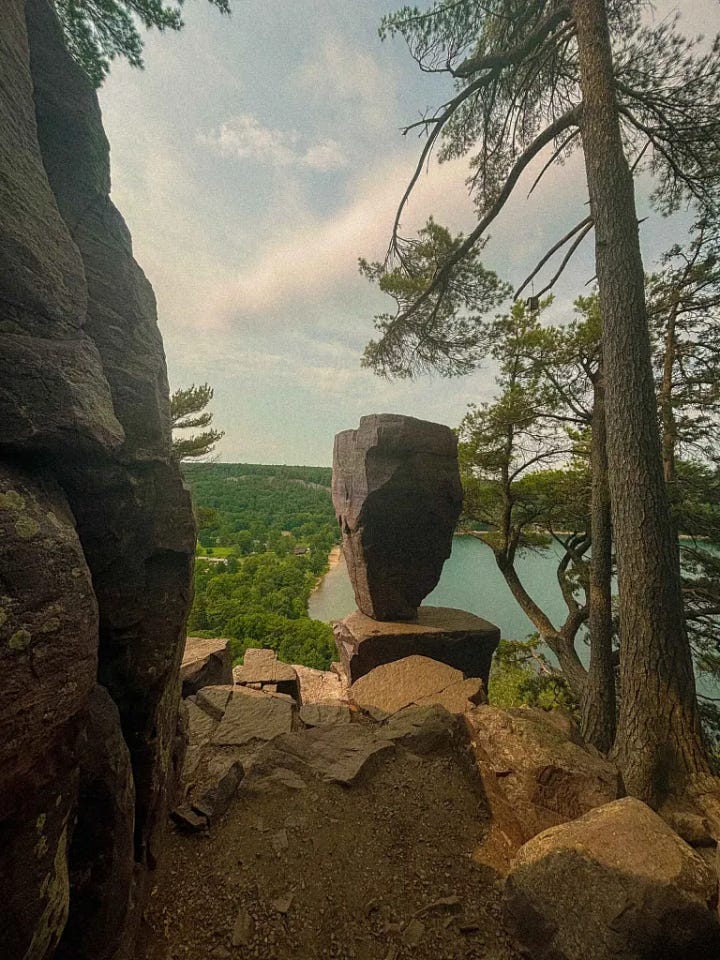
The Ice Age National Scenic Trail runs 1200 miles through Wisconsin. The trail follows the path of the geologic features left behind in the retreat of the last glacier more than 12,000 years ago. There are tons of excellent shorter backpacking options along the Ice Age Trail as well!
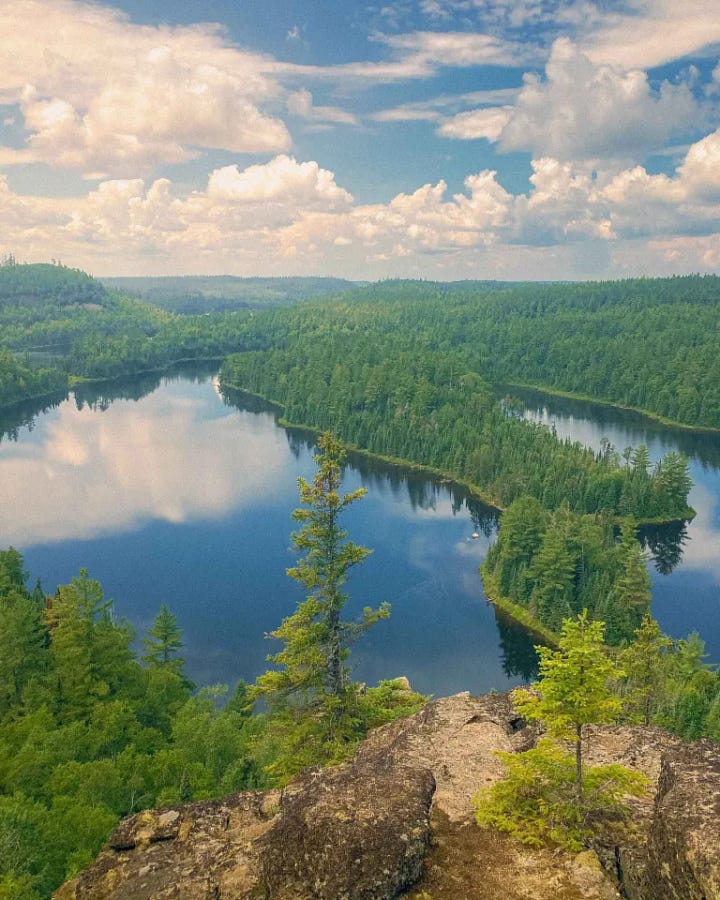
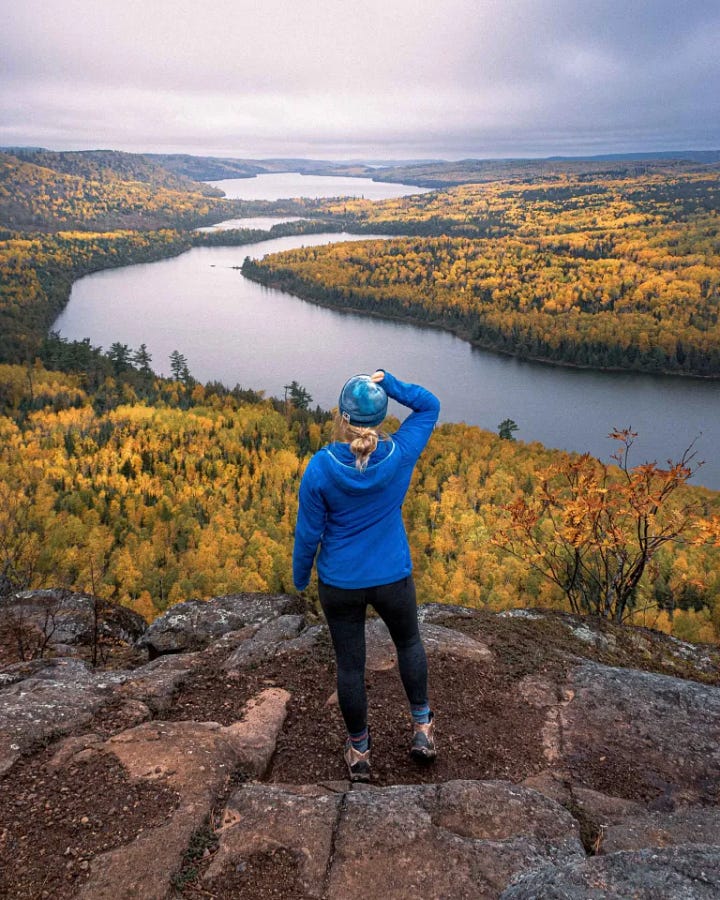
The Border Route Trail, MN: quiet lakes and waterfalls
Minnesota’s Border Route Trail is a 65-mile thru hike that runs through Minnesota’s Boundary Water Canoe Area Wilderness. Permits are required, and this trail is often considered difficult due to rugged terrain and infrequent foot traffic, meaning that sections of the trail are extremely difficult to follow.
READ: Ten Best Backpacking Trips in the Midwest
Packing for a backpacking trip:
The key with backpacking is to bring everything you need, and nothing you don’t! Weight adds up quickly, and odds are you won’t even use that hairbrush, deodorant, or life-straw (especially the life-straw). My favorite part of backpacking is really, fully realizing exactly how little I need to live & thrive: there is something really beautiful about stripping life down to the bare essentials.
Sleep System for Backpacking Trips:
Nemo Disco Sleeping Bag (if shoulder season UL Enlightened Equipment 0 degree quilt). Budget: REI Trailmade 20 [$99.95]
Nemo Tensor Sleeping Pad (changed over from Big Agnes bc this one is equally comfortable comparably priced and packs down much smaller. Budget/basic: Nemo Switchback [$49.95]
Sea to Summit Compression sack for Sleeping Bag
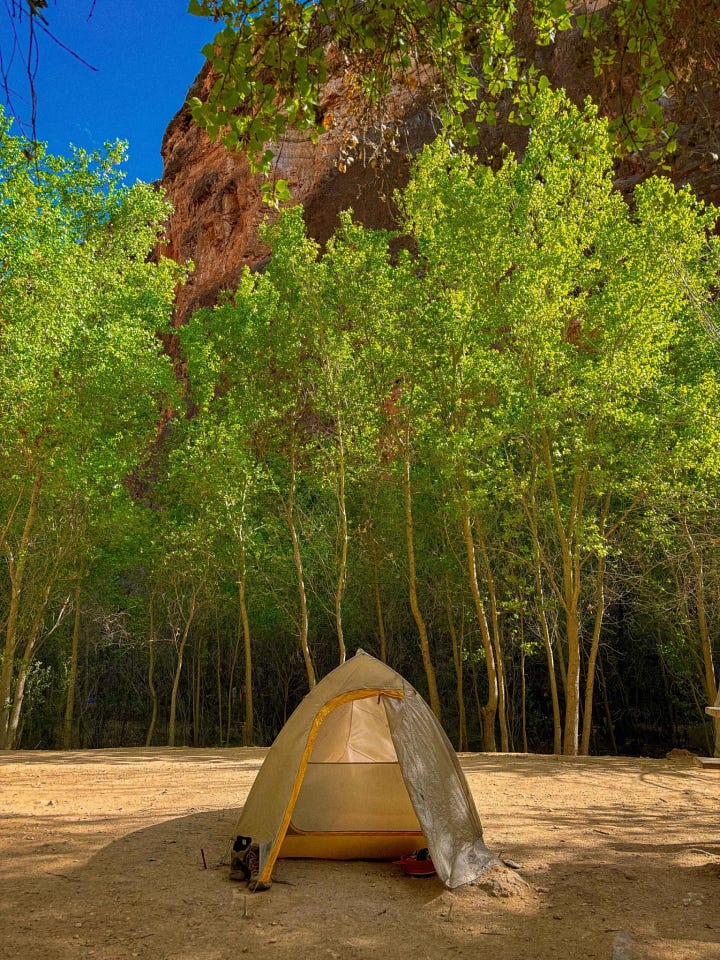
Ultralight: Big Agnes Fly Creek 2 UL + footprint Tent. Budget: REI Backpacking Bundle
Kitchen Gear List for Backpacking:
MSR Pocket Rocket camp stove. Splurge: MSR Windburner [$189.95]
2 Smartwater water bottles empty (even a Nalgene can add weight. Definitely leave your metal Stanley at home, that adds lots of weight!)
Sawyer Squeeze water filter (alt: iodine tablets)
Spork (long enough to reach bottom of dehydrated meals while keeping your hand clean ideally)
Tin mug if coffee/ tea drinker
If with a group and making meals from scratch, Nalgene bowl to eat from. If not, straight from the bag
Urssack for bear proofing (Talk to your ranger if in a park that requires a bear box; sometimes an Urssack is allowed instead. Personally, I highly recommend the Urssack and have used it frequently in bear country with no issue.)
Packing and Prepping food for backpacking trips:
Getting enough food as you’re backpacking is really important. DO NOT just pack ramen and oatmeal to eat for days straight. You will be uncomfortable, and it can even be dangerous.
In general, budget one breakfast, one lunch, one+ snack, one dinner, and one dessert for a day. Personally, depending on the trip, I will either purchase pre-packed meals in advance, or dehydrate my own meals in advance. If trips are shorter than three days, I’ll sometimes pack non-dehydrated food and splurge on weight and space.
If you will be backpacking longer than a few days or long distances (greater than 15 miles a day), I recommend coming up with a nutrition plan. I am not a nutritionist, but here are a few resources that are a good place to start:
Pack more food than you think, and pick meals you know you will like. Those dehydrated meals at REI are not a fun thing to mess around with on a backpacking trip. Anything you don’t like and can’t finish you will have to carry out, and that once dehydrated backpacking food will now be much heavier now that it’s rehydrated. If you know you like pasta, just get pasta.
READ: 13 Easy Camping Meal Ideas
How to Choose a Backpacking Bag:
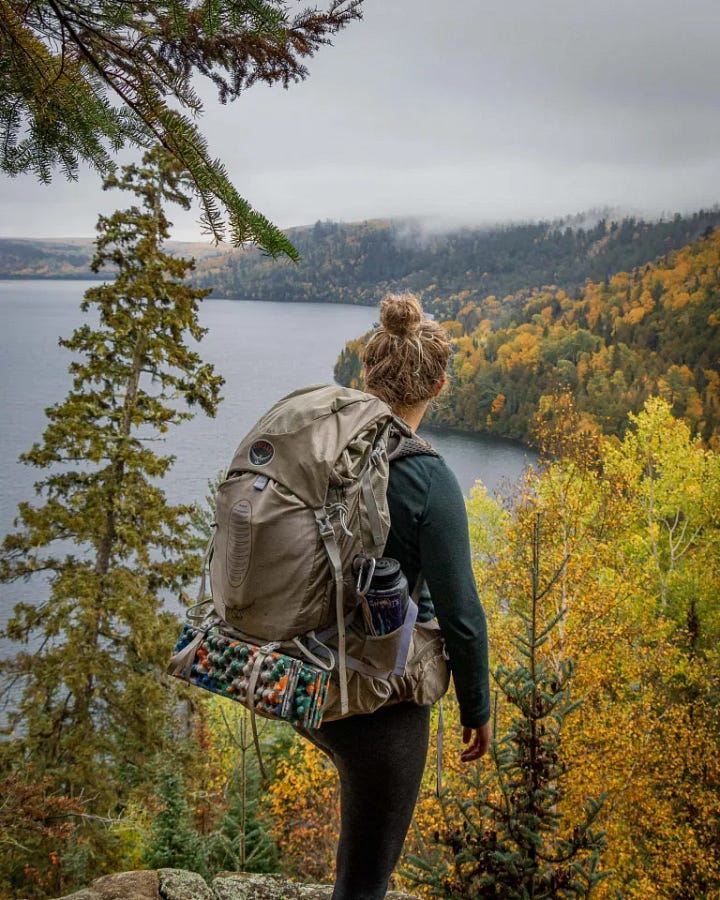
A backpack is a little like a pair of pants: what fits me, might not fit you. I’m 5′ 4″ and wear a size S/M top generally and tend to fit a smaller frame pack. Osprey makes the best packs for women with smaller frames in general. If you have a larger frame, check out Gregory packs. Alternately, Granite Gear (midwest-based) has highly customizable pack fits that I’ve had great experiences with.
For lightweight trips, I use the Granite Gear Perimeter 35L (discontinued, rest in peace)
I’ve also used the Osprey Renn 50 and will use the Osprey Aura 65 for trips longer than one week with no resupply options. To be honest though, I really prefer the Granite Gear barebones setup and find it to be more comfortable than all of the features on the Osprey Bags. If you’re new to backpacking and have a lot of luxury items you want to bring (ie, you don’t care what I say, you will be bringing deodorant and a camp chair), go for the Osprey Aura. However if you’re looking to keep it to bare essentials, look into some of the smaller GG packs.
First Aid Kit Notes for Backpackers:
You can purchase a first aid kit from REI prepackaged, but I like to build out my own for my own specific backpacking needs. I blister easily, and for me preventative blister care is super important.
This looks like cutting my toenails before trips, duct taping or KT taping over the parts of my feet that blister before I start hiking, and the second I start to feel a hotspot, I take off my hiking boot and use Glacial Gel patches and KT Tape to cover the spot before it becomes a blister.
It is far better to stop hiking and tend to your blisters early than to try and patch up an open wound. For me, I know that on long downhill sections I blister on my pinky toe and the outer edge of my foot, so I slap some duct tape on the usual spots before hiking so it doesn’t rub. On uphills, I blister at my heels, so I do the same.
The most common backpacking injuries tend to be blisters, dehydration, and burns from camp stoves. I come prepared for this by having a burn kit, rehydration packs, and practicing preventative First Aid by staying hydrated, preventing blisters, and being conscious of boiling water and camp stoves (ie, don’t let someone pour freshly boiled water into your coffee cup while you’re holding it!!)
recommended backpacking routes…
Backpack Havasupai, a bucket-list Grand Canyon Route
Check out the Best Backpacking in the Midwest
Looking for more practical and beginner-friendly outdoor advice!? Check out…
How to sea kayak camp for beginners!
A complete guide to Minnesota’s BWCA


I live in south west England, and our areas of ‘wilderness’ are few and far between (and utterly tiny in comparison to yours!). I look forward to one day taking an epic road trip through some seriously wild lands in North America 🙌
Thoroughly enjoy the reads! Looking forward to exploring more of my own backyard, thanks!